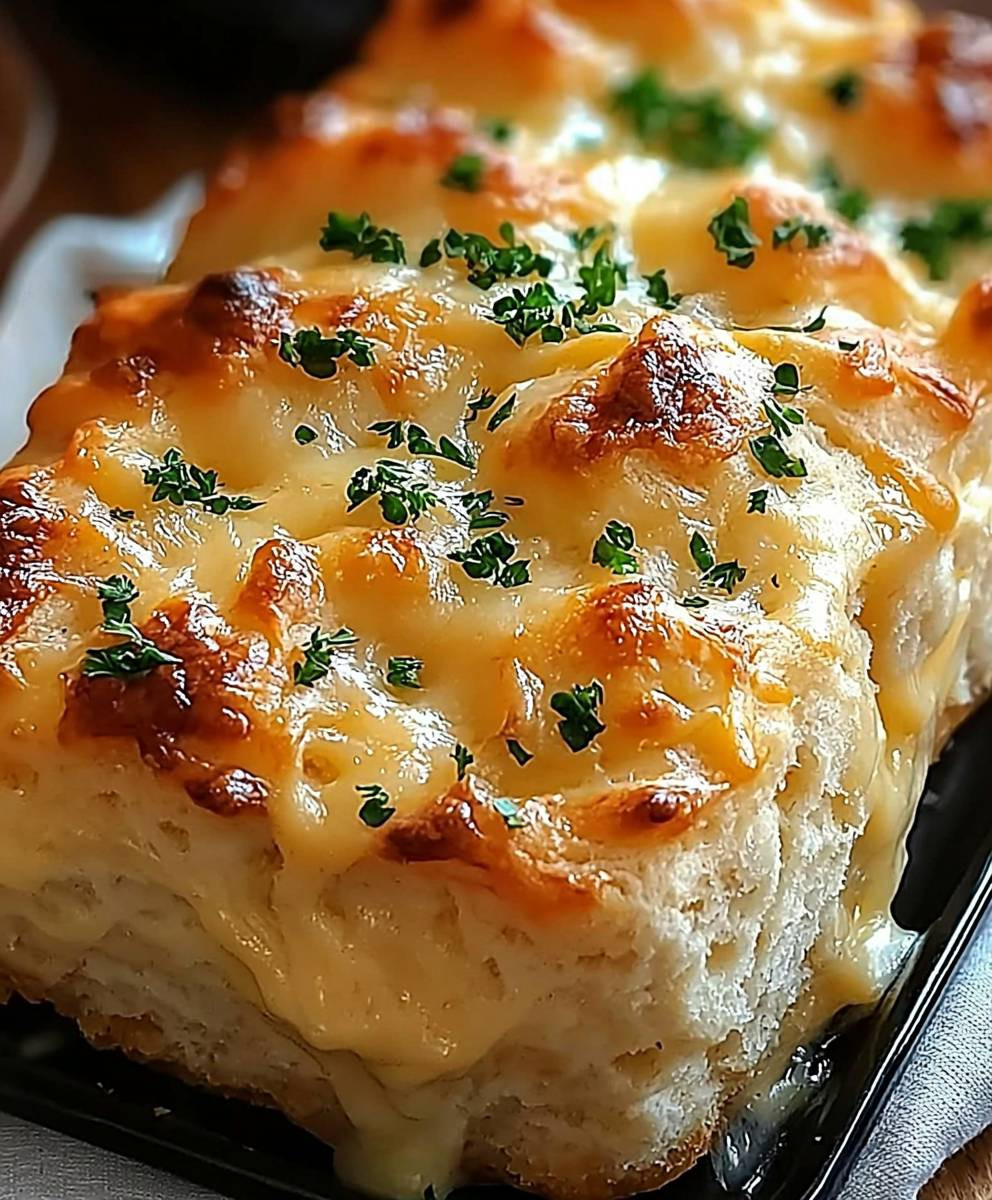
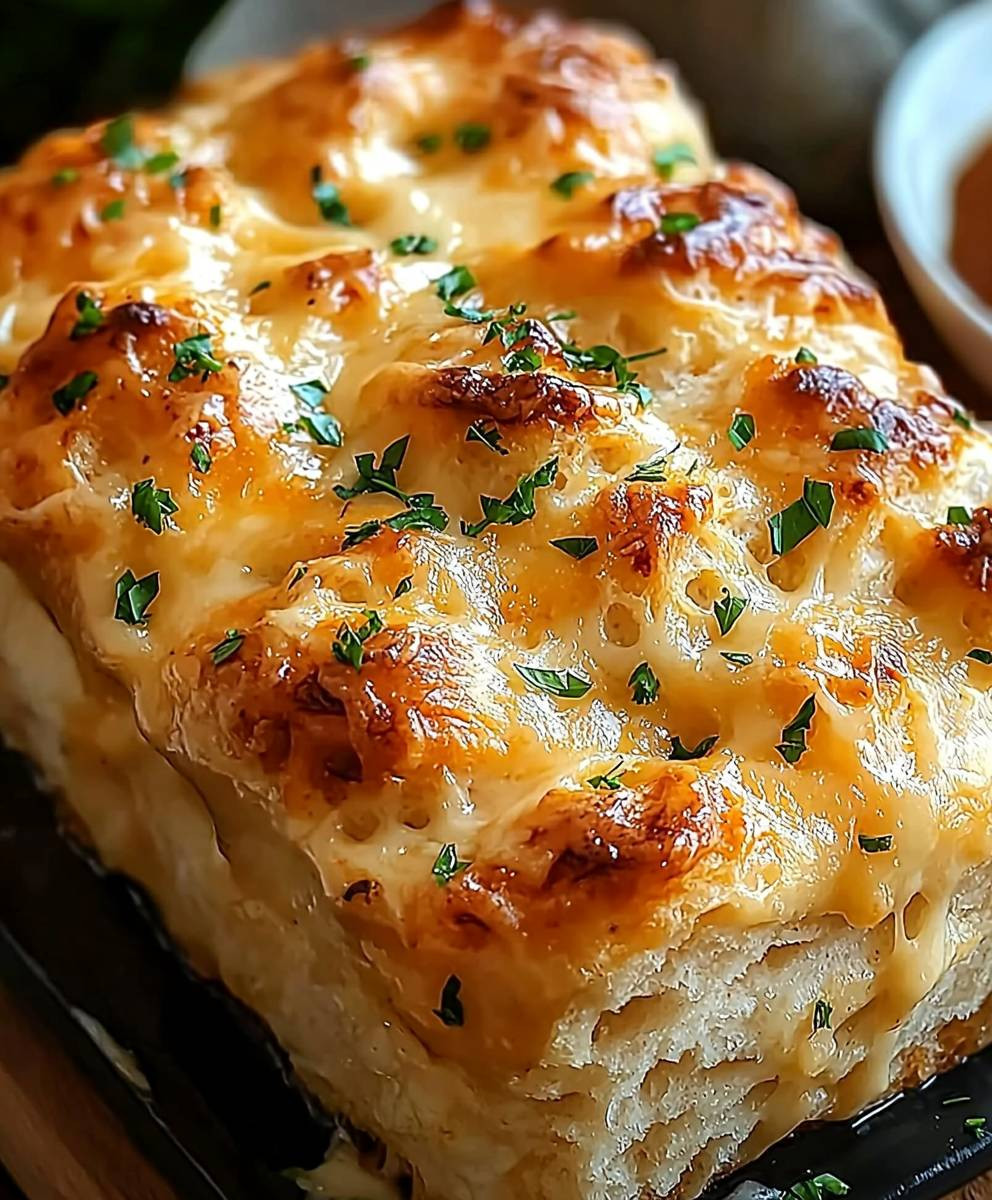
Red Lobster cheese biscuit loaf: Prepare to experience a symphony of cheesy, buttery goodness that will transport you straight to seafood heaven! Imagine the iconic Red Lobster Cheddar Bay Biscuits, but supersized and even more shareable. This isn’t just a recipe; it’s a culinary adventure that brings the warmth and comfort of your favorite restaurant right into your kitchen.
While the exact origins of Red Lobster’s famous biscuits remain a closely guarded secret, their impact on American dining is undeniable. They’ve become synonymous with the Red Lobster experience, a complimentary indulgence that sets the stage for a delicious seafood feast. But why wait for a special occasion to enjoy that irresistible flavor?
People adore these biscuits for their incredibly soft, fluffy texture, the sharp tang of cheddar cheese, and that unmistakable buttery richness. The Red Lobster cheese biscuit loaf takes all those beloved qualities and amplifies them. It’s perfect for potlucks, family gatherings, or simply a cozy night in. Plus, it’s surprisingly easy to make, requiring minimal effort for maximum flavor payoff. Get ready to impress your friends and family with this crowd-pleasing masterpiece!
Ingredients:
- 2 cups all-purpose flour
- 1 tablespoon baking powder
- 1 teaspoon baking soda
- 1/2 teaspoon salt
- 1/4 teaspoon garlic powder
- 1/4 teaspoon paprika
- 1/2 cup (1 stick) cold unsalted butter, cut into cubes
- 1 cup buttermilk, cold
- 1 cup shredded sharp cheddar cheese
- 1/4 cup chopped fresh parsley
Garlic Butter Topping:
- 1/4 cup (1/2 stick) unsalted butter, melted
- 1 teaspoon garlic powder
- 1/4 teaspoon dried parsley flakes
Instructions:
Preparing the Dough:
- First things first, let’s get our dry ingredients ready. In a large bowl, whisk together the 2 cups of all-purpose flour, 1 tablespoon of baking powder, 1 teaspoon of baking soda, 1/2 teaspoon of salt, 1/4 teaspoon of garlic powder, and 1/4 teaspoon of paprika. Make sure everything is well combined – this ensures even distribution of the leavening agents and spices.
- Now, for the butter! This is a crucial step for achieving that flaky, tender texture. Add the 1/2 cup (1 stick) of cold, cubed unsalted butter to the dry ingredients. Using a pastry blender or your fingertips (work quickly to keep the butter cold!), cut the butter into the flour mixture until it resembles coarse crumbs. You should still see small pieces of butter throughout – that’s what we want! These little pockets of butter will create steam as the loaf bakes, resulting in those lovely layers.
- Next, pour in the 1 cup of cold buttermilk. Gently stir the mixture with a wooden spoon or spatula until just combined. Be careful not to overmix! Overmixing will develop the gluten in the flour, leading to a tough loaf. A few streaks of flour are perfectly fine at this stage.
- Time for the cheese and parsley! Add the 1 cup of shredded sharp cheddar cheese and 1/4 cup of chopped fresh parsley to the dough. Gently fold them in until they are evenly distributed. Again, be gentle – we want to maintain that tender texture.
Baking the Loaf:
- Preheat your oven to 375°F (190°C). While the oven is heating up, grease and flour a 9×5 inch loaf pan. This will prevent the loaf from sticking and ensure easy removal after baking. You can also line the pan with parchment paper, leaving an overhang on the sides for easy lifting.
- Carefully transfer the dough to the prepared loaf pan. Spread it evenly in the pan. The dough will be quite thick, so don’t worry if it doesn’t fill the pan completely.
- Bake for 35-40 minutes, or until a wooden skewer inserted into the center comes out clean. The top of the loaf should be golden brown and slightly cracked. Keep an eye on it – ovens can vary, so you might need to adjust the baking time slightly. If the top starts to brown too quickly, you can loosely tent it with aluminum foil.
- While the loaf is baking, prepare the garlic butter topping. In a small bowl, melt the 1/4 cup (1/2 stick) of unsalted butter. Stir in the 1 teaspoon of garlic powder and 1/4 teaspoon of dried parsley flakes. Set aside.
Finishing Touches:
- Once the loaf is baked, remove it from the oven and let it cool in the pan for about 5-10 minutes. This will make it easier to handle without falling apart.
- After the brief cooling period, carefully invert the loaf onto a wire rack to cool completely.
- While the loaf is still warm (but not too hot to handle), brush the top and sides generously with the prepared garlic butter topping. This will add a delicious garlicky flavor and a beautiful sheen to the loaf.
- Let the garlic butter soak in for a few minutes before slicing and serving. The aroma will be irresistible!
Serving Suggestions:
This Red Lobster cheese biscuit loaf is best served warm. It’s perfect as a side dish with soups, stews, salads, or any main course. You can also enjoy it as a snack or appetizer. For an extra touch, serve it with a side of honey butter or your favorite dipping sauce.
Tips and Variations:
- Use cold ingredients: Cold butter and buttermilk are essential for creating a tender, flaky loaf.
- Don’t overmix: Overmixing will result in a tough loaf. Mix the dough until just combined.
- Cheese variations: Feel free to experiment with different types of cheese. Monterey Jack, Colby Jack, or even a blend of cheeses would work well.
- Add some heat: For a spicy kick, add a pinch of red pepper flakes to the dough or the garlic butter topping.
- Make it ahead: You can prepare the dough ahead of time and store it in the refrigerator for up to 24 hours. Let it come to room temperature slightly before baking.
- Freezing: Baked loaf can be frozen. Wrap it tightly in plastic wrap and then in aluminum foil. Thaw overnight in the refrigerator before reheating.
- Reheating: To reheat the loaf, wrap it in aluminum foil and bake at 350°F (175°C) for about 10-15 minutes, or until warmed through. You can also microwave individual slices for a quick reheat.
Troubleshooting:
- Loaf is too dry: Make sure you are using enough buttermilk and that you are not overbaking the loaf.
- Loaf is too dense: This could be due to overmixing the dough or using old baking powder.
- Loaf is not rising: This could be due to using old baking powder or not using enough baking powder.
- Loaf is sticking to the pan: Make sure you are greasing and flouring the pan properly. You can also line the pan with parchment paper.
Nutritional Information (Approximate, per slice):
Please note that the nutritional information is an estimate and may vary depending on the specific ingredients used.
- Calories: 250-300
- Fat: 15-20g
- Saturated Fat: 10-12g
- Cholesterol: 50-60mg
- Sodium: 400-500mg
- Carbohydrates: 25-30g
- Fiber: 1-2g
- Sugar: 2-3g
- Protein: 8-10g
Enjoy your homemade Red Lobster cheese biscuit loaf! I hope you and your family love it as much as mine does!
Conclusion:
So, there you have it! This Red Lobster cheese biscuit loaf recipe is truly a game-changer. Forget individual biscuits – we’re talking about a warm, cheesy, pull-apart masterpiece that’s perfect for sharing (or not, I won’t judge!). The aroma alone is enough to transport you straight to Red Lobster, but the taste? Oh, the taste is even better. It’s buttery, garlicky, and packed with that signature cheddar cheese flavor we all crave. But why is this recipe a must-try? It’s simple: it’s incredibly easy to make, even for novice bakers. The ingredients are readily available, and the steps are straightforward. Plus, the result is a show-stopping loaf that will impress your family and friends. It’s the ultimate comfort food, perfect for cozy nights in, potlucks, or even as a side dish for your next seafood feast. Seriously, who can resist a warm, cheesy biscuit? And when it’s in loaf form, it’s just that much more fun! Serving Suggestions and Variations: The possibilities are endless when it comes to serving this delicious loaf. Here are a few ideas to get you started: * Classic Pairing: Serve it alongside your favorite seafood dishes, like shrimp scampi, grilled salmon, or lobster bisque. It’s the perfect complement to any seafood meal. * Soup’s On: Dunk it in a bowl of creamy tomato soup or hearty chili for a comforting and satisfying meal. * Breakfast Bliss: Slice it up and serve it with scrambled eggs and bacon for a cheesy, savory breakfast treat. * Garlic Butter Boost: Brush the top with extra garlic butter after baking for an even more intense flavor. * Spice It Up: Add a pinch of red pepper flakes to the batter for a little kick. * Herb Infusion: Mix in some fresh herbs like parsley, chives, or dill for a more complex flavor profile. * Cheese Lover’s Dream: Experiment with different types of cheese! Try adding some Monterey Jack, Gruyere, or even a little bit of Parmesan for a unique twist. * Jalapeno Popper Loaf: Dice some jalapenos and mix them into the batter along with some cream cheese for a spicy and cheesy delight. Don’t be afraid to get creative and experiment with different flavors and ingredients to make this recipe your own! The beauty of this Red Lobster cheese biscuit loaf is that it’s so versatile and adaptable. I truly believe that this recipe will become a staple in your kitchen. It’s quick, easy, and incredibly satisfying. The aroma that fills your home while it’s baking is simply divine, and the taste is even better. It’s the perfect way to bring a little bit of Red Lobster magic into your own home. So, what are you waiting for? Grab your ingredients, preheat your oven, and get ready to bake the most amazing Red Lobster cheese biscuit loaf you’ve ever tasted! I’m confident that you’ll love it as much as I do. And most importantly, I want to hear about your experience! Did you try the recipe? Did you make any variations? What did you serve it with? Share your photos and stories in the comments below. I can’t wait to see your creations and hear your feedback. Happy baking! Let’s all enjoy the cheesy goodness together! Print
Red Lobster Cheese Biscuit Loaf: The Ultimate Recipe & Guide
- Total Time: 55 minutes
- Yield: 1 loaf 1x
Description
Cheesy, garlicky, and utterly irresistible homemade Red Lobster cheese biscuit loaf, perfect with soups, salads, or as a snack.
Ingredients
- 2 cups all-purpose flour
- 1 tablespoon baking powder
- 1 teaspoon baking soda
- 1/2 teaspoon salt
- 1/4 teaspoon garlic powder
- 1/4 teaspoon paprika
- 1/2 cup (1 stick) cold unsalted butter, cut into cubes
- 1 cup buttermilk, cold
- 1 cup shredded sharp cheddar cheese
- 1/4 cup chopped fresh parsley
- 1/4 cup (1/2 stick) unsalted butter, melted
- 1 teaspoon garlic powder
- 1/4 teaspoon dried parsley flakes
Instructions
- Preheat oven to 375°F (190°C). Grease and flour a 9×5 inch loaf pan.
- In a large bowl, whisk together flour, baking powder, baking soda, salt, garlic powder, and paprika.
- Cut in cold, cubed butter using a pastry blender or fingertips until the mixture resembles coarse crumbs.
- Pour in cold buttermilk and gently stir until just combined. Do not overmix.
- Fold in shredded cheddar cheese and chopped fresh parsley until evenly distributed.
- Carefully transfer the dough to the prepared loaf pan and spread evenly.
- Bake for 35-40 minutes, or until a wooden skewer inserted into the center comes out clean and the top is golden brown. If the top browns too quickly, tent loosely with aluminum foil.
- While the loaf is baking, prepare the garlic butter topping by melting butter and stirring in garlic powder and dried parsley flakes.
- Once the loaf is baked, let it cool in the pan for 5-10 minutes before inverting it onto a wire rack to cool completely.
- While the loaf is still warm, brush the top and sides generously with the prepared garlic butter topping.
- Let the garlic butter soak in for a few minutes before slicing and serving.
Notes
- Use cold ingredients (butter and buttermilk) for a tender, flaky loaf.
- Do not overmix the dough.
- Experiment with different types of cheese.
- Add a pinch of red pepper flakes for a spicy kick.
- Dough can be prepared ahead of time and stored in the refrigerator for up to 24 hours.
- Baked loaf can be frozen. Wrap it tightly in plastic wrap and then in aluminum foil. Thaw overnight in the refrigerator before reheating.
- To reheat the loaf, wrap it in aluminum foil and bake at 350°F (175°C) for about 10-15 minutes, or until warmed through. You can also microwave individual slices for a quick reheat.
- Prep Time: 15 minutes
- Cook Time: 35 minutes




Leave a Comment