

Fluffy Butter Bread is a delightful treat that has a special place in my heart and kitchen. This recipe not only fills your home with an irresistible aroma but also brings back fond memories of family gatherings where warm, freshly baked bread was the star of the table. The history of bread-making dates back thousands of years, and this particular version, with its rich buttery flavor and soft texture, is a testament to the timeless appeal of homemade bread.
People love Fluffy Butter Bread for its melt-in-your-mouth quality and the way it pairs perfectly with both sweet and savory dishes. Whether you enjoy it toasted with a spread of jam or as a side to your favorite soup, this bread is incredibly versatile and convenient to make. Join me as we dive into this simple yet satisfying recipe that will surely become a staple in your home, just as it has in mine!

Ingredients:
- 4 cups all-purpose flour
- 1/4 cup granulated sugar
- 1 tablespoon instant yeast
- 1 teaspoon salt
- 1 cup warm milk (about 110°F or 43°C)
- 1/2 cup unsalted butter, melted
- 2 large eggs
- 1 teaspoon vanilla extract
- Extra melted butter for brushing
Preparing the Dough
Let’s get started on making this fluffy butter bread! The first step is to prepare the dough, which is the heart of our bread.
- In a large mixing bowl, combine the flour, sugar, instant yeast, and salt. Make sure to mix these dry ingredients well to ensure even distribution of the yeast and salt.
- In a separate bowl, whisk together the warm milk, melted butter, eggs, and vanilla extract until well combined. The warmth of the milk will help activate the yeast, so make sure it’s not too hot or too cold.
- Pour the wet ingredients into the dry ingredients. Using a wooden spoon or a spatula, mix until a shaggy dough forms. It might look a bit messy, but that’s perfectly fine!
- Once the dough starts to come together, transfer it to a lightly floured surface. Knead the dough for about 8-10 minutes. You want to develop the gluten, which will give the bread its fluffy texture. The dough should become smooth and elastic. If it’s too sticky, sprinkle a little more flour as needed.
First Rise
Now that we have our dough ready, it’s time to let it rise. This step is crucial for developing flavor and texture.
- Shape the kneaded dough into a ball and place it in a greased bowl, turning it once to coat the surface with oil. This will prevent it from drying out.
- Cover the bowl with a clean kitchen towel or plastic wrap. Place it in a warm, draft-free area to rise for about 1 to 1.5 hours, or until it has doubled in size. I usually find a cozy spot near the oven works well!
Shaping the Bread
Once the dough has risen beautifully, it’s time to shape it into a loaf.
- After the first rise, gently punch down the dough to release any air bubbles. This is a satisfying step, and it helps to redistribute the yeast.
- Transfer the dough back to your floured surface and divide it into two equal portions. You can use a bench scraper or a sharp knife for this.
- Take one portion of the dough and flatten it into a rectangle, about 1/2 inch thick. Then, roll it up tightly from one end to the other, pinching the seams to seal. This will help create those lovely layers in the bread.
- Repeat the same process with the second portion of dough.
- Place both rolled loaves seam-side down in a greased 9×5 inch loaf pan. Make sure they are spaced evenly apart.
Second Rise
Now, we’ll let the shaped loaves rise again. This second rise is essential for achieving that fluffy texture.
- Cover the loaf pans with a kitchen towel and let them rise in a warm place for about 30-45 minutes, or until they have puffed up and are nearly doubled in size.
- While the loaves are rising, preheat your oven to 350°F (175°C). This way, the oven will be ready when the bread is done rising.
Baking the Bread
It’s almost time to enjoy the delicious aroma of freshly baked bread!
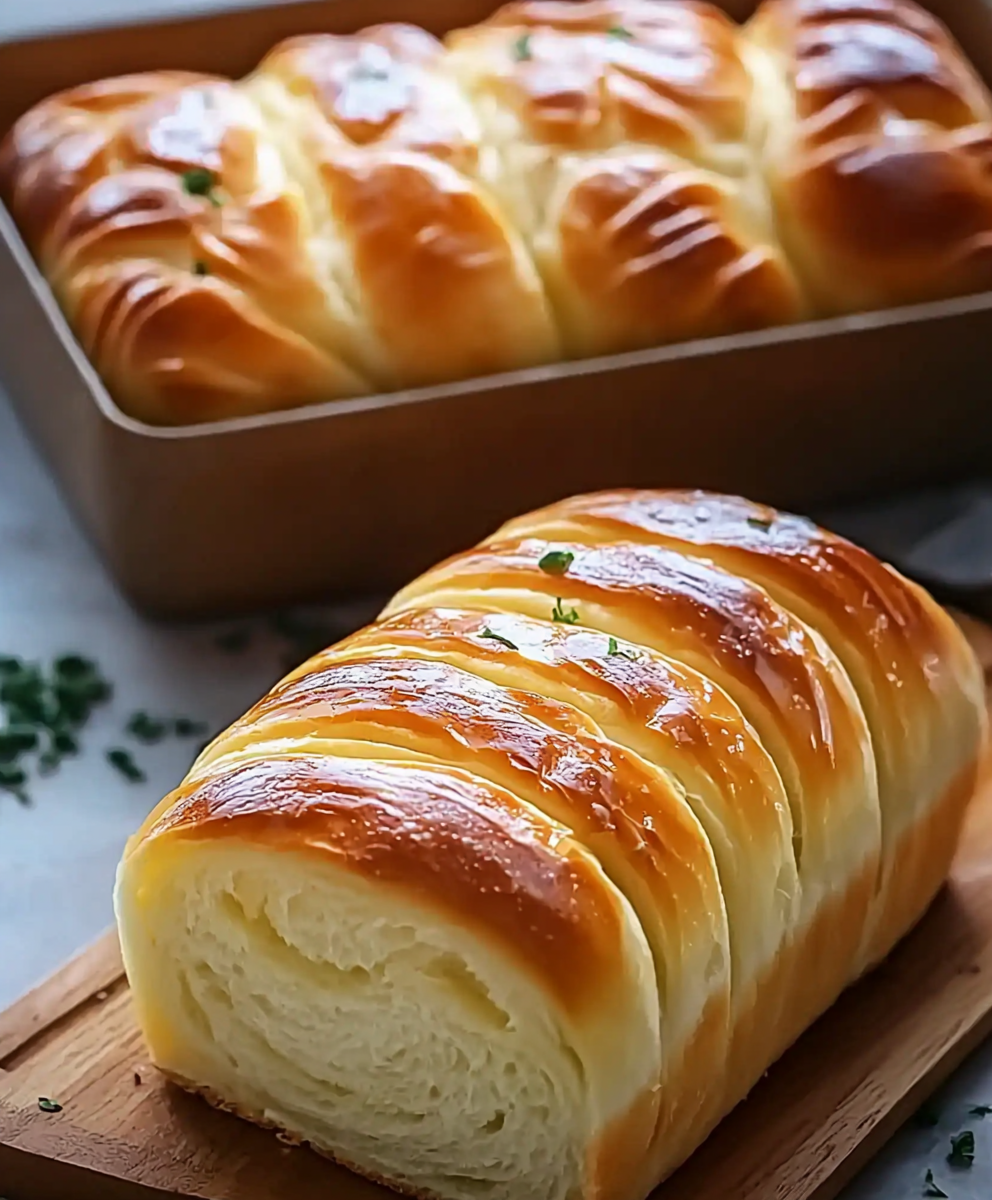
- Once the loaves have risen, uncover them and brush the tops with melted butter. This will give the bread a beautiful golden color and a rich flavor.
- Carefully place the loaf pans in the preheated oven. Bake for 30-35 minutes, or until the tops are golden brown and the bread sounds hollow when tapped on the bottom. If you have a kitchen thermometer, the internal temperature
Conclusion:
In summary, this Fluffy Butter Bread recipe is an absolute must-try for anyone who loves the comforting taste of homemade bread. The combination of rich butter and a light, airy texture makes it perfect for breakfast, a snack, or even as a side for your favorite meals. Imagine slathering a warm slice with jam or enjoying it alongside a hearty soup—pure bliss! For those looking to mix things up, consider adding herbs like rosemary or thyme for a savory twist, or sprinkle in some cinnamon and sugar for a delightful sweet version. You can also experiment with different types of flour or add seeds for an extra crunch. The possibilities are endless! I wholeheartedly encourage you to give this Fluffy Butter Bread a try. I promise you won’t regret it! Once you’ve baked your own loaf, I’d love to hear about your experience. Share your thoughts, variations, and any tips you discover along the way. Let’s spread the joy of baking together! Print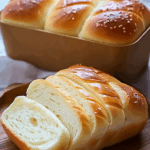
Fluffy Butter Bread: The Ultimate Recipe for Soft and Delicious Loaves
- Total Time: 15 minutes
- Yield: 2 loaves 1x
Description
This fluffy butter bread is a soft and airy loaf that combines rich butter and sweet sugar, making it perfect for sandwiches or toasting. With a straightforward preparation process, it fills your kitchen with a warm aroma, creating a delightful homemade treat.
Ingredients
Scale- 4 cups all-purpose flour
- 1/4 cup granulated sugar
- 1 tablespoon instant yeast
- 1 teaspoon salt
- 1 cup warm milk (about 110°F or 43°C)
- 1/2 cup unsalted butter, melted
- 2 large eggs
- 1 teaspoon vanilla extract
- Extra melted butter for brushing
Instructions
- In a large mixing bowl, combine the flour, sugar, instant yeast, and salt. Mix well to ensure even distribution.
- In a separate bowl, whisk together the warm milk, melted butter, eggs, and vanilla extract until well combined.
- Pour the wet ingredients into the dry ingredients. Mix with a wooden spoon or spatula until a shaggy dough forms.
- Transfer the dough to a lightly floured surface and knead for about 8-10 minutes until smooth and elastic. Add more flour if the dough is too sticky.
- Shape the kneaded dough into a ball and place it in a greased bowl, turning it to coat with oil.
- Cover with a kitchen towel or plastic wrap and let it rise in a warm area for 1 to 1.5 hours, or until doubled in size.
- Gently punch down the risen dough to release air bubbles.
- Divide the dough into two equal portions.
- Flatten one portion into a rectangle (about 1/2 inch thick) and roll it up tightly, pinching the seams to seal.
- Repeat with the second portion of dough.
- Place both rolled loaves seam-side down in a greased 9×5 inch loaf pan.
- Cover the loaf pans with a kitchen towel and let them rise in a warm place for 30-45 minutes, or until puffed up.
- Preheat your oven to 350°F (175°C).
- Brush the tops of the loaves with melted butter.
- Bake in the preheated oven for 30-35 minutes, or until golden brown and hollow-sounding when tapped on the bottom. The internal temperature should reach 190°F (88°C).
Notes
- Ensure the milk is warm but not hot to properly activate the yeast.
- For added flavor, consider mixing in herbs or spices to the dough.
- Store the bread in an airtight container at room temperature for up to 3 days, or freeze for longer storage.
- Prep Time: 20 minutes
- Cook Time: 35 minutes


Leave a Comment