

Crispy Dry Rub Chicken Wings are the ultimate game-day snack that never fails to impress. As a fan of finger-licking good food, I can confidently say that these wings are a crowd-pleaser, whether you’re hosting a party or simply enjoying a cozy night in. The history of chicken wings dates back to the 1960s in Buffalo, New York, where they were first served as a late-night snack. Since then, they have evolved into a beloved dish across the globe, with countless variations and flavors.
What makes crispy dry rub chicken wings so irresistible is their perfect balance of flavor and texture. The dry rub creates a savory crust that locks in the juiciness of the chicken, resulting in a satisfying crunch with every bite. People love these wings not only for their delicious taste but also for their convenience; they are easy to prepare and can be made in large batches, making them ideal for any gathering. Join me as we dive into this delightful recipe that will surely become a staple in your kitchen!

Ingredients:
- 2 pounds of chicken wings
- 1 tablespoon baking powder (aluminum-free)
- 1 teaspoon salt
- 1 teaspoon black pepper
- 1 teaspoon garlic powder
- 1 teaspoon onion powder
- 1 teaspoon smoked paprika
- 1 teaspoon cayenne pepper (adjust to taste)
- 1 teaspoon dried oregano
- 1 teaspoon dried thyme
- 1 tablespoon olive oil (optional)
Preparing the Chicken Wings
1. **Preheat the Oven**: Start by preheating your oven to 425°F (220°C). This high temperature is key to achieving that crispy texture we all love in chicken wings. 2. **Prepare the Chicken Wings**: Rinse the chicken wings under cold water and pat them dry with paper towels. It’s important to remove as much moisture as possible, as this will help them crisp up in the oven. 3. **Separate the Wings**: If your chicken wings are whole, you can separate them into drumettes and flats. To do this, use a sharp knife to cut through the joint between the two sections. Discard the wing tips or save them for making stock.Making the Dry Rub
4. **Combine the Dry Ingredients**: In a large mixing bowl, combine the baking powder, salt, black pepper, garlic powder, onion powder, smoked paprika, cayenne pepper, oregano, and thyme. Mix well until all the spices are evenly distributed. 5. **Coat the Wings**: Add the chicken wings to the bowl with the dry rub. If you’re using olive oil, drizzle it over the wings before adding the dry rub. This will help the spices adhere better. Toss the wings in the bowl until they are evenly coated with the spice mixture. Make sure every wing is well covered for maximum flavor.Cooking the Chicken Wings
6. **Prepare the Baking Sheet**: Line a large baking sheet with aluminum foil for easy cleanup. Place a wire rack on top of the baking sheet. This allows air to circulate around the wings, helping them to cook evenly and become crispy. 7. **Arrange the Wings**: Lay the coated chicken wings in a single layer on the wire rack. Make sure they are not touching each other; this will ensure they crisp up nicely. 8. **Bake the Wings**: Place the baking sheet in the preheated oven and bake for 40-45 minutes. Halfway through the cooking time, around the 20-minute mark, flip the wings over to ensure they cook evenly on both sides. 9. **Check for Crispiness**: After 40-45 minutes, check the wings for doneness. They should be golden brown and crispy. If you want them even crispier, you can broil them for an additional 2-3 minutes, but keep a close eye on them to prevent burning.Serving the Chicken Wings
10. **Remove from Oven**: Once the wings are done, carefully remove them from the oven. Let them rest for a few minutes on the wire rack. This will help them stay crispy as they cool slightly. 11. **Serve with Dipping Sauces**: Transfer the wings to a serving platter. You can serve them plain or with your favorite dipping sauces. Some popular options include ranch dressing, blue cheese dressing, or a spicy buffalo sauce. 12. **Garnish (Optional)**: If you want to add a little flair, you can garnish the wings with chopped fresh parsley or green onions for a pop of color and freshness.Tips for Perfect Wings
– **Use Aluminum-Free Baking Powder**: This is crucial for achieving that crispy texture without any metallic taste. – **Don’t Skip the Drying Step**: The drier the wings, the crispier they will be. Pat them dry thoroughly before seasoning. – **Experiment with Spices**: Feel free to adjust the spices in the dry rub to suit your taste. You can add more cayenne for heat or even some brown sugar for a touch of sweetness. – **Make Ahead**: You can prepare the wings and coat them with the dry rub a few hours in advance. Just cover them and refrigerate until you’re ready to bake.Storing Leftovers
13. **Cool Completely**: If you have any leftover wings, let them cool completely before storing them. 14. **Store in an Airtight Container**: Place the wings in an airtight container and store them in the refrigerator for up to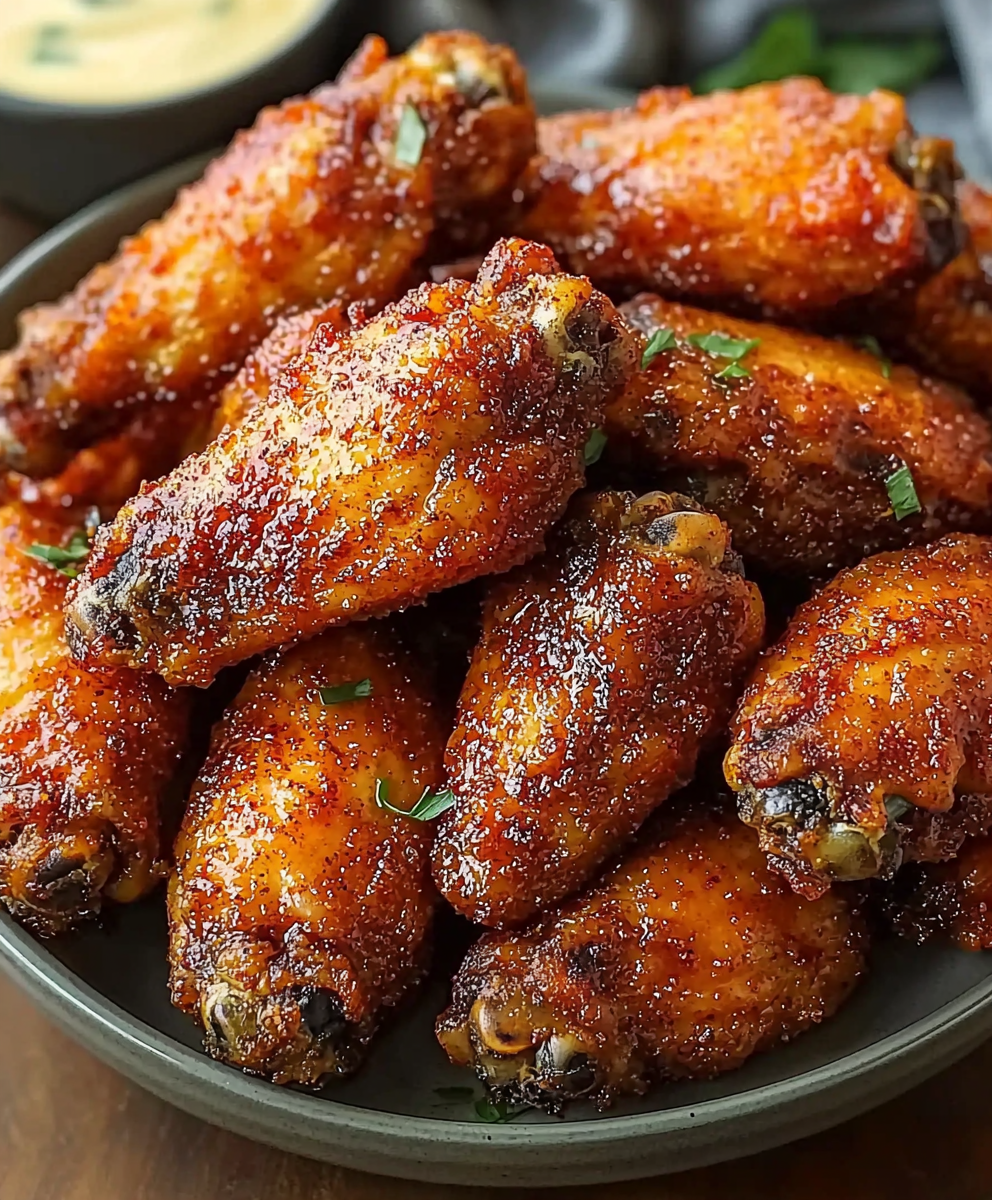
Conclusion:
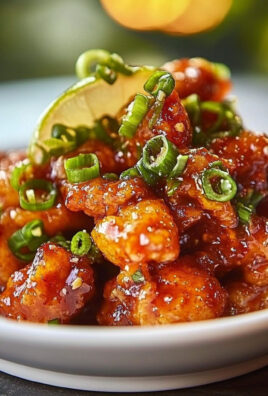
In summary, these Crispy Dry Rub Chicken Wings are an absolute must-try for anyone looking to elevate their game day snacks or simply enjoy a delicious meal at home. The combination of spices in the dry rub creates a flavor explosion that perfectly complements the crispy texture of the wings, making them irresistible. Whether you’re serving them at a party, enjoying a cozy night in, or just craving something tasty, these wings are sure to impress. For serving suggestions, consider pairing these wings with a side of creamy ranch or tangy blue cheese dressing for dipping. You can also toss them in your favorite hot sauce for an extra kick or serve them alongside fresh veggies and a zesty dip for a balanced platter. If you want to switch things up, feel free to experiment with different dry rubs or marinades—smoky BBQ, zesty lemon pepper, or even a sweet and spicy Asian-inspired blend can all work wonders. I encourage you to give this recipe a try and share your experience! I’d love to hear how your wings turn out and any creative variations you come up with. Don’t forget to snap a few photos and share them with your friends and family; they’ll be begging you for the recipe! Trust me, once you taste these Crispy Dry Rub Chicken Wings, you’ll be hooked and ready to make them again and again. Happy cooking! Print
Crispy Dry Rub Chicken Wings: The Ultimate Recipe for Flavorful Perfection
- Total Time: 15 minutes
- Yield: 4 servings 1x
Description
Crispy Baked Chicken Wings coated in a zesty dry rub, baked to golden perfection. Ideal for game day or gatherings, these easy-to-make wings are sure to be a hit with everyone!
Ingredients
- 2 pounds of chicken wings
- 1 tablespoon baking powder (aluminum-free)
- 1 teaspoon salt
- 1 teaspoon black pepper
- 1 teaspoon garlic powder
- 1 teaspoon onion powder
- 1 teaspoon smoked paprika
- 1 teaspoon cayenne pepper (adjust to taste)
- 1 teaspoon dried oregano
- 1 teaspoon dried thyme
- 1 tablespoon olive oil (optional)
Instructions
- Preheat your oven to 425°F (220°C).
- Rinse the chicken wings under cold water and pat them dry with paper towels.
- If whole, separate the wings into drumettes and flats by cutting through the joint. Discard the wing tips.
- In a large mixing bowl, mix the baking powder, salt, black pepper, garlic powder, onion powder, smoked paprika, cayenne pepper, oregano, and thyme.
- Add the chicken wings to the bowl. If using olive oil, drizzle it over the wings before adding the dry rub. Toss until evenly coated.
- Line a large baking sheet with aluminum foil and place a wire rack on top.
- Lay the coated wings in a single layer on the wire rack, ensuring they are not touching.
- Bake for 40-45 minutes, flipping halfway through.
- Ensure wings are golden brown and crispy. Broil for an additional 2-3 minutes if desired.
- Let the wings rest on the wire rack for a few minutes.
- Transfer to a serving platter and serve with your favorite dipping sauces.
- Garnish with chopped fresh parsley or green onions if desired.
Notes
- Use aluminum-free baking powder for the best texture.
- Ensure wings are thoroughly dried for maximum crispiness.
- Adjust spices in the dry rub to suit your taste preferences.
- Wings can be prepared in advance and refrigerated before baking.
- Prep Time: 15 minutes
- Cook Time: 45 minutes


Leave a Comment