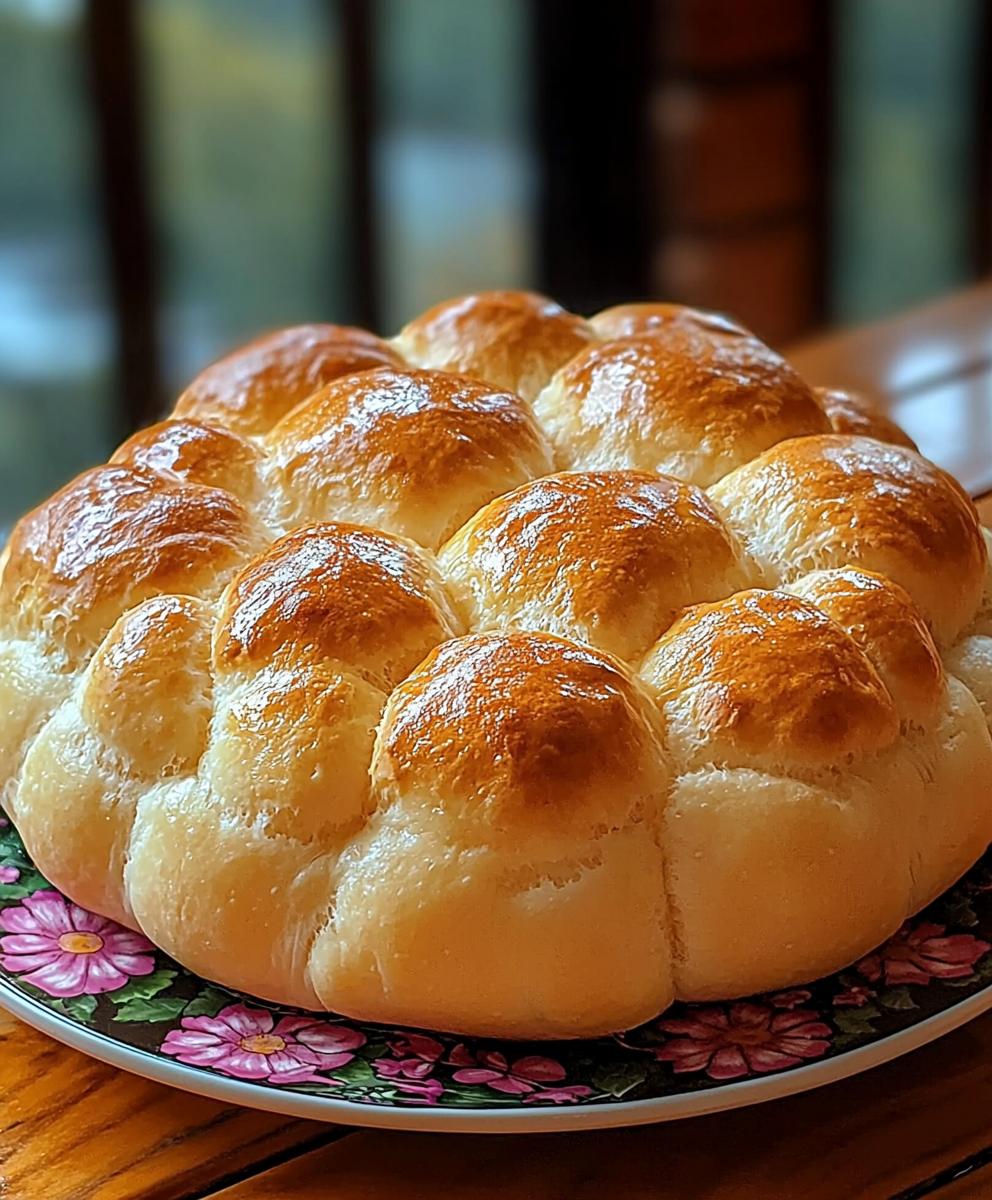
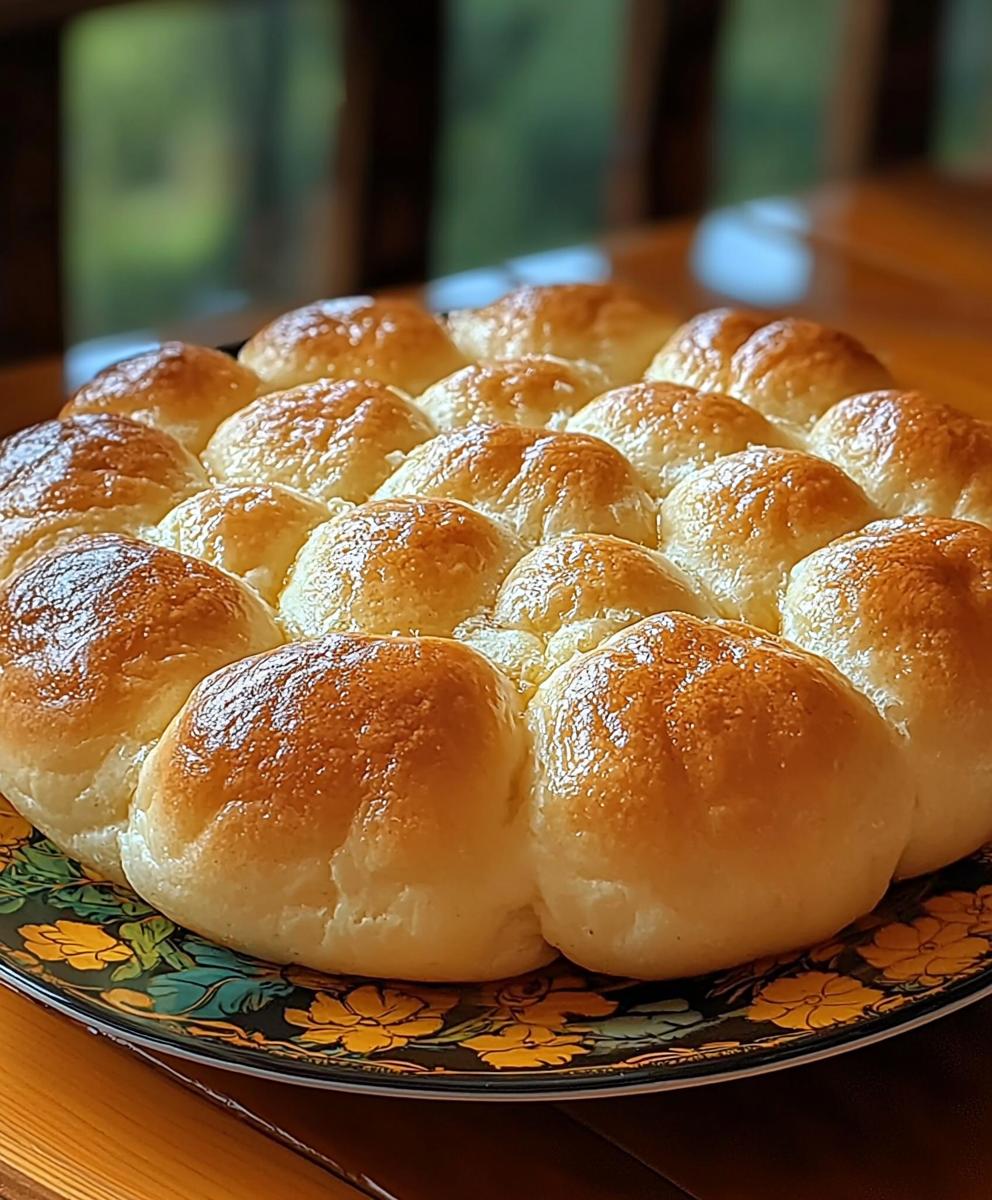
Cloud bread is a delightful and innovative alternative to traditional bread that has taken the culinary world by storm. This light and airy creation is not only gluten-free but also low in carbohydrates, making it a favorite among those following keto or low-carb diets. The history of cloud bread dates back to the early 1970s, when it was first introduced as a substitute for bread in various diets. Over the years, it has evolved into a beloved staple for many, thanks to its unique texture and versatility.
People love this cloud bread recipe for its incredible taste and fluffy consistency, which makes it perfect for sandwiches, burgers, or even as a base for delicious toppings. The convenience of whipping up a batch in just a few minutes adds to its appeal, allowing you to enjoy a guilt-free treat without the hassle of traditional baking. Join me as we explore this cloud bread recipe that will surely elevate your meals and satisfy your cravings!
Ingredients:
- 3 large eggs
- 1/4 teaspoon cream of tartar
- 3 tablespoons cream cheese, softened
- 1 tablespoon almond flour (optional, for added texture)
- 1/2 teaspoon garlic powder (optional, for flavor)
- 1/2 teaspoon salt
- 1 tablespoon fresh herbs (like rosemary or thyme, optional)
Preparing the Batter
1. **Preheat the Oven**: Start by preheating your oven to 300°F (150°C). This is crucial as you want the bread to bake evenly and rise properly. 2. **Separate the Eggs**: Carefully separate the egg whites from the yolks. I like to do this in two bowls to avoid any yolk getting into the whites. The egg whites need to be in a clean, dry bowl for whipping. 3. **Whip the Egg Whites**: Using a hand mixer or a stand mixer, beat the egg whites on medium speed until they become frothy. Then, add the cream of tartar. Continue to beat the egg whites until stiff peaks form. This usually takes about 3-5 minutes. You want them to be glossy and hold their shape well. 4. **Mix the Egg Yolks**: In another bowl, combine the egg yolks, softened cream cheese, almond flour (if using), garlic powder (if using), and salt. Whisk these ingredients together until you have a smooth mixture. It should be creamy and well combined. 5. **Combine the Mixtures**: Gently fold the whipped egg whites into the egg yolk mixture. I like to do this in three parts. Start by adding a third of the egg whites to the yolk mixture and fold gently to lighten it. Then, add the remaining egg whites in two more additions, folding carefully to maintain the airiness of the batter. Be gentle here; you want to keep as much volume as possible. 6. **Add Fresh Herbs**: If you’re using fresh herbs, now is the time to fold them into the batter. This adds a lovely flavor and a pop of color to your cloud bread.Baking the Cloud Bread
7. **Prepare the Baking Sheet**: Line a baking sheet with parchment paper. This will prevent the cloud bread from sticking and make cleanup a breeze. 8. **Scoop the Batter**: Using a large spoon or a spatula, scoop the batter onto the prepared baking sheet. I like to make 4-6 mounds, depending on how big I want my cloud bread. Each mound should be about 1/2 inch thick and spaced a couple of inches apart to allow for spreading. 9. **Shape the Mounds**: Gently shape the mounds into rounds or ovals, smoothing the tops with the back of the spoon. This will help them bake evenly and look nice. 10. **Bake**: Place the baking sheet in the preheated oven and bake for 25-30 minutes. Keep an eye on them; you want them to be golden brown on the edges and firm to the touch. The center should be slightly soft but not wet. 11. **Cool the Bread**: Once baked, remove the cloud bread from the oven and let it cool on the baking sheet for about 5 minutes. Then, transfer them to a wire rack to cool completely. This step is important as it helps them firm up a bit more.Assembling and Serving
12. **Serve as Desired**: Once your cloud bread is completely cool, you can use it in various ways. I love using it as a low-carb sandwich alternative. You can layer it with your favorite deli meats, cheeses, and veggies. It also works great as a base for mini pizzas or topped with avocado and a sprinkle of salt for a quick snack. 13. **Storage**: If you have leftovers (which is rare in my house!), store them in an airtight container in the refrigerator for up to 3 days. You can also freeze them for longer storage. Just make sure to separate each piece with parchment paper to prevent sticking. 14. **Reheating**: To reheat, simply pop them in the toaster or microwave for a few seconds until warmed through. They can also be reheated in the oven for a few minutes at 300°F (150°C) to regain their crispiness. 15. **Experiment with Flavors**: Feel free to get creative with your cloud bread! You can add different spices, cheese, or even a touch of sweetener if you want to make a sweet version. Just remember to adjust the salt accordingly. 16. **Enjoy
Conclusion:
In summary, this Cloud Bread recipe is a must-try for anyone looking to enjoy a light, fluffy alternative to traditional bread. Not only is it incredibly easy to make, but it also caters to various dietary needs, making it a versatile option for everyone. Whether you’re following a low-carb diet, gluten-free lifestyle, or simply want to experiment with something new, this recipe is sure to impress. For serving suggestions, I love to pair my Cloud Bread with a variety of toppings. You can spread some cream cheese and add fresh herbs for a savory treat, or go sweet with a dollop of almond butter and sliced bananas. The possibilities are endless! You can even use it as a base for mini sandwiches or burgers, making it a fun addition to any meal. I encourage you to give this Cloud Bread recipe a try and share your experience with friends and family. I would love to hear how you customize it to fit your taste! Don’t forget to snap a picture and tag me on social media; I can’t wait to see your delicious creations. Happy baking! Print
Cloud Bread Recipe: A Light and Fluffy Alternative to Traditional Bread
- Total Time: 40-45 minutes
- Yield: 4–6 pieces 1x
Description
This light and fluffy cloud bread is a delicious low-carb alternative to traditional bread, perfect for sandwiches, mini pizzas, or snacks. Made with just a few simple ingredients, it offers an airy texture and can be customized with various flavors and herbs. Enjoy this versatile treat that’s easy to make and store!
Ingredients
- 3 large eggs
- 1/4 teaspoon cream of tartar
- 3 tablespoons cream cheese, softened
- 1 tablespoon almond flour (optional, for added texture)
- 1/2 teaspoon garlic powder (optional, for flavor)
- 1/2 teaspoon salt
- 1 tablespoon fresh herbs (like rosemary or thyme, optional)
Instructions
- Preheat your oven to 300°F (150°C).
- Carefully separate the egg whites from the yolks into two clean bowls.
- Beat the egg whites on medium speed until frothy. Add cream of tartar and continue beating until stiff peaks form (about 3-5 minutes).
- In another bowl, whisk together egg yolks, softened cream cheese, almond flour (if using), garlic powder (if using), and salt until smooth.
- Gently fold the whipped egg whites into the egg yolk mixture in three parts, maintaining the airiness of the batter.
- Fold in fresh herbs if using.
- Line a baking sheet with parchment paper.
- Scoop the batter onto the prepared baking sheet, forming 4-6 mounds about 1/2 inch thick and spaced apart.
- Shape the mounds into rounds or ovals, smoothing the tops.
- Bake for 25-30 minutes until golden brown on the edges and firm to the touch.
- Let the cloud bread cool on the baking sheet for 5 minutes, then transfer to a wire rack to cool completely.
- Use as a low-carb sandwich alternative, mini pizza base, or snack.
- Store leftovers in an airtight container in the refrigerator for up to 3 days or freeze with parchment paper between pieces.
- Reheat in a toaster, microwave, or oven at 300°F (150°C) for a few minutes.
- Feel free to add different spices, cheese, or sweeteners as desired.
Notes
- Ensure egg whites are in a clean, dry bowl for optimal whipping.
- Adjust seasonings and herbs based on personal preference.
- For a sweet version, consider adding a touch of sweetener and vanilla extract.
- Prep Time: 15 minutes
- Cook Time: 30 minutes


Leave a Comment