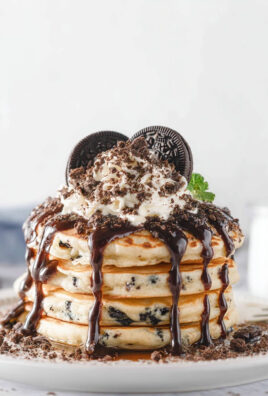
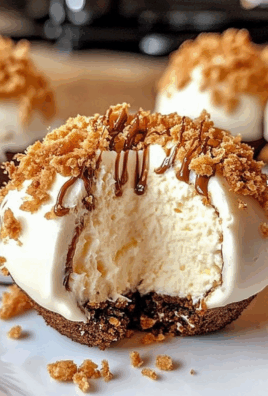
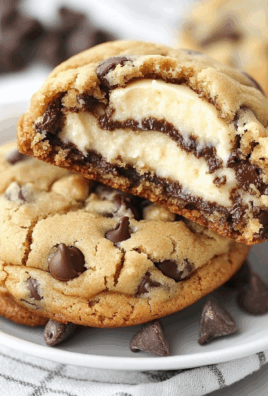
Two of the most elegant desserts—crème brûlée and cheesecake—come together in these irresistible mini treats. Creamy cheesecake with a silky custard-like texture is topped with a crisp caramelized sugar shell for a luxurious dessert experience in every bite. These mini crème brûlée cheesecakes are perfect for dinner parties, special occasions, or when you just want to treat yourself to something extraordinary. Let’s dive into the recipe!
Ingredients for Mini Crème Brûlée Cheesecakes
Here’s everything you need to create these decadent, bite-sized desserts. Each ingredient has a role in delivering that signature flavor and texture:
Crust
- 1 cup of graham cracker crumbs: Provides a classic cheesecake base with a buttery crunch.
- 2 tablespoons of granulated sugar: Adds a hint of sweetness to the crust.
- 4 tablespoons of melted butter: Holds the crust together and gives it richness.
Cheesecake Filling
- 16 ounces of cream cheese (softened): The heart of the cheesecake, giving it that creamy, smooth texture.
- ½ cup of granulated sugar: Sweetens the filling to perfection.
- 2 large eggs: Helps bind everything together for a custard-like consistency.
- ½ cup of heavy cream: Adds richness and a silky texture.
- 1 teaspoon of vanilla extract: Enhances the flavor with a warm, aromatic note.
Topping
- 6-8 teaspoons of granulated sugar: For the caramelized, crackly sugar crust on top.
How to Make Mini Crème Brûlée Cheesecakes
Follow these simple steps to create mini cheesecakes that are as delicious as they are impressive:
Step 1: Preheat the Oven and Prep the Pan
Preheat your oven to 325°F (160°C). Line a standard 12-cup muffin tin with cupcake liners.
Step 2: Make the Crust
- In a bowl, mix the graham cracker crumbs, sugar, and melted butter until the mixture resembles wet sand.
- Divide the crust mixture evenly among the muffin cups (about 1 tablespoon per cup) and press it firmly into the bottom. Use the back of a spoon or the bottom of a glass for even layering.
Step 3: Prepare the Cheesecake Filling
- In a large bowl, beat the cream cheese and sugar together until smooth and creamy.
- Add the eggs one at a time, mixing well after each addition.
- Mix in the heavy cream and vanilla extract until fully combined. Avoid overmixing to prevent air bubbles.
Step 4: Fill the Cups
- Pour the cheesecake filling evenly over the prepared crusts, filling each cup about ¾ full. Smooth the tops if needed.
Step 5: Bake
- Bake for 18-20 minutes, or until the centers are set but still slightly jiggly.
- Remove the cheesecakes from the oven and let them cool in the pan for 15 minutes before transferring them to the refrigerator to chill for at least 3 hours (or overnight for best results).
Step 6: Caramelize the Sugar
- Once the cheesecakes are completely chilled, sprinkle ½ teaspoon of sugar evenly over the top of each cheesecake.
- Use a kitchen torch to melt and caramelize the sugar until golden brown and crisp. Let the sugar harden for a minute before serving.
Equipment Needed
- Muffin tin
- Cupcake liners
- Mixing bowls
- Hand mixer or stand mixer
- Kitchen torch (for caramelizing the sugar)
- Measuring cups and spoons
Frequently Asked Questions
Can I make these cheesecakes ahead of time?
Yes! You can make the cheesecakes up to 2 days in advance and store them in the refrigerator. Just add the caramelized sugar topping right before serving to keep it crisp.
What if I don’t have a kitchen torch?
No problem! You can caramelize the sugar under the broiler. Place the cheesecakes on a baking sheet and broil on high for 1-2 minutes, watching closely to prevent burning.
Can I use a different crust?
Absolutely! Swap graham cracker crumbs for crushed digestive biscuits, vanilla wafers, or even Oreo crumbs for a fun twist.
How do I prevent cracks in the cheesecake?
Be sure not to overmix the batter, and don’t overbake the cheesecakes. The centers should still have a slight jiggle when you remove them from the oven—they’ll set as they cool.
Can I freeze these cheesecakes?
Yes! Freeze the cheesecakes (without the sugar topping) in an airtight container for up to 2 months. Thaw in the refrigerator overnight and caramelize the sugar before serving.
Can I make this recipe gluten-free?
You bet! Just use gluten-free graham crackers or cookies for the crust.
How long do these cheesecakes last?
Stored in an airtight container in the refrigerator, they’ll stay fresh for up to 5 days.
Conclusion
These mini crème brûlée cheesecakes are the perfect blend of indulgent flavors and textures. Creamy, rich, and topped with a crisp caramelized shell, they’re guaranteed to impress. I hope you love making (and eating) them as much as I do! Don’t forget to share this recipe on Facebook or save it to Pinterest for your next dessert inspiration. Happy baking!


Leave a Comment