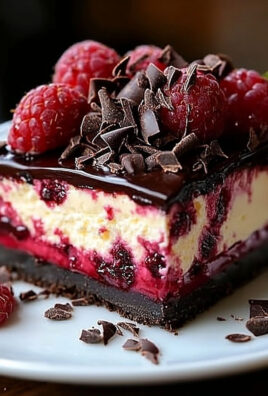
Chocolate lava cake is the ultimate indulgence, with a rich, gooey center that flows like molten chocolate when you cut into it. This dessert is surprisingly easy to make and perfect for special occasions or when you want to treat yourself to something extraordinary. Let’s create this irresistible dessert together!
Ingredients
- Semisweet or Dark Chocolate (4 ounces, chopped)
The star of the cake! Use high-quality chocolate for the best flavor. - Unsalted Butter (½ cup, 1 stick)
Adds richness and ensures the cakes are moist. - Powdered Sugar (1 cup)
Sweetens the batter and gives the cakes a delicate texture. - Eggs (2 whole + 2 yolks)
The combination of whole eggs and yolks creates the signature molten center. - All-Purpose Flour (¼ cup)
Just enough to bind the batter without making it too dense. - Vanilla Extract (1 teaspoon)
Enhances the chocolate flavor with a warm, aromatic note. - Optional: Pinch of Salt
Balances the sweetness and brings out the chocolate flavor. - Butter or Cooking Spray (for greasing ramekins)
Ensures the cakes release easily from the molds.
How to Make Chocolate Lava Cake
Step 1: Preheat the Oven
Preheat your oven to 425°F (220°C). Grease 4 ramekins (6-ounce size) with butter or cooking spray and lightly dust with cocoa powder to prevent sticking.
Step 2: Melt the Chocolate and Butter
In a heatproof bowl, combine the chopped chocolate and butter. Melt them together using a double boiler or in the microwave in 20-second intervals, stirring between each, until smooth.
Step 3: Mix the Batter
Stir the powdered sugar into the melted chocolate mixture until well combined. Add the eggs, egg yolks, and vanilla extract, whisking until smooth. Gently fold in the flour (and salt, if using) until just incorporated. Be careful not to overmix.
Step 4: Fill the Ramekins
Divide the batter evenly among the prepared ramekins, filling them about three-quarters full.
Step 5: Bake the Cakes
Place the ramekins on a baking sheet and bake for 12–14 minutes, or until the edges are set but the center is still slightly jiggly.
Step 6: Cool and Serve
Let the cakes cool for 1–2 minutes, then carefully invert each ramekin onto a plate. Serve warm with a dusting of powdered sugar, a scoop of vanilla ice cream, or fresh berries.
Equipment Needed
- Ramekins for baking.
- Mixing bowls for preparing the batter.
- Whisk for combining ingredients.
- Baking sheet for easy transfer to the oven.
Frequently Asked Questions
Can I make lava cakes ahead of time?
Yes! Prepare the batter and fill the ramekins, then refrigerate for up to 1 day. Bake them directly from the fridge, adding 1–2 minutes to the bake time.
What if I don’t have ramekins?
You can use a muffin tin instead. Grease the cups well and reduce the bake time slightly.
How do I know when the cakes are done?
The edges should be set and slightly pulling away from the ramekin, while the center remains soft and jiggly.
Can I make these gluten-free?
Yes! Substitute the all-purpose flour with almond flour or a gluten-free flour blend.
What’s the best way to serve lava cake?
Serve it warm with vanilla ice cream, whipped cream, or a drizzle of chocolate or caramel sauce for extra indulgence.
Can I use milk chocolate instead of dark chocolate?
Yes, but the cakes will be sweeter and less intense. Adjust the sugar slightly if desired.
How do I store leftovers?
Store any leftover cakes in the fridge for up to 2 days. Reheat in the microwave for 15–20 seconds to restore the molten center.
Conclusion
Chocolate lava cake is a dessert that’s guaranteed to impress. Its rich, gooey center and perfect chocolate flavor make it an unforgettable treat. I hope you enjoy making (and eating!) this decadent dessert. If you loved it, share it on Facebook or save it on Pinterest for your next sweet craving. Happy baking! 🍫✨


Leave a Comment